Your medical reports, together in one place
Bring copies of your reports into a personal health record, find them by date, and return to the originals when you need them.
By Lifexam Editorial
AvailabilityFreeDescribes features available on the Free plan. All resources are free to read.
On this page
You remember having the test. Finding the report takes longer. It might be an attachment in your email, a download from a hospital portal, or a printed page you brought home after an appointment.
Lifexam gives you somewhere to keep copies of those reports together. You add the documents you already have, then use them to build a personal health record you can look back through.
Start with the reports you have
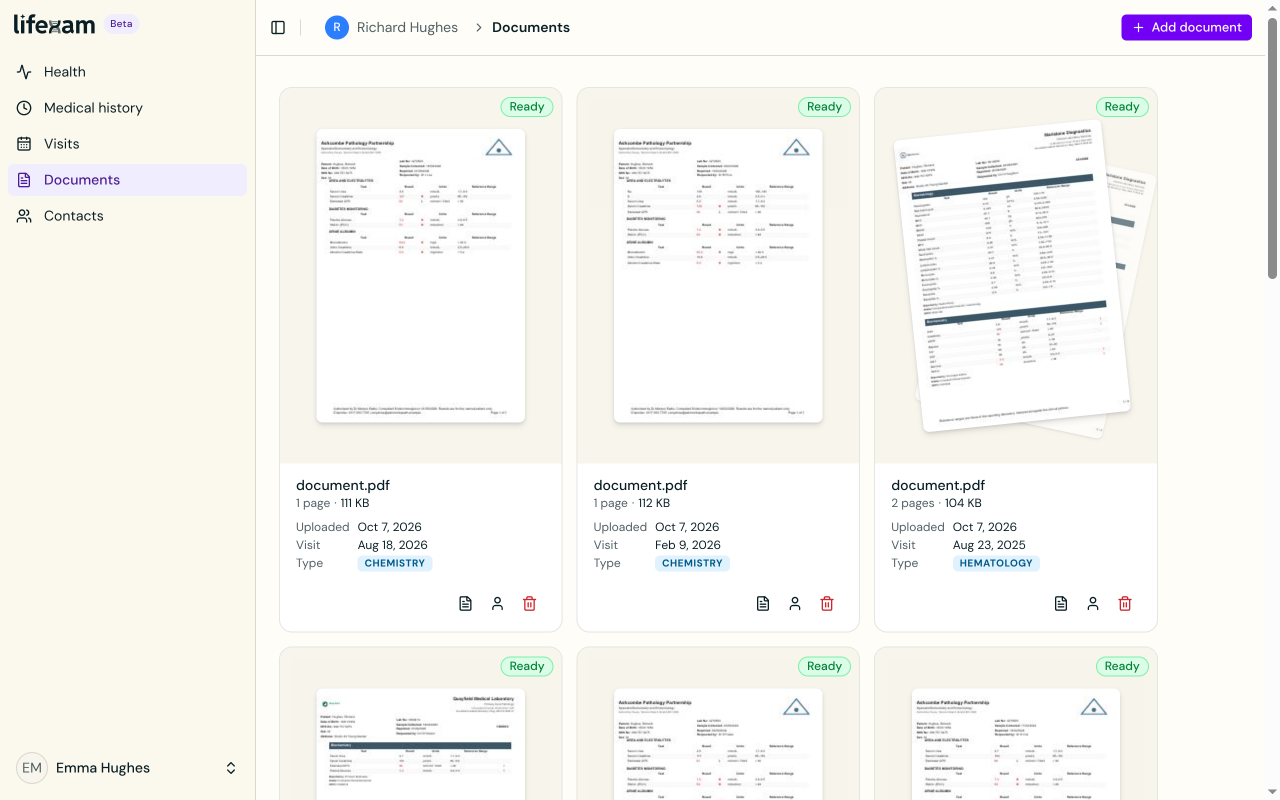
You can upload a PDF or a photo of a printed report. Lab results, imaging reports, specialist letters and discharge notes can belong to the same record, even when they come from different providers.
An imaging report is the written account of a scan. The scan images themselves are a different kind of file; this article is about keeping the report.
The Documents page keeps your uploaded files together. You can open an original from there whenever you need to read it again.
Find a report by when it happened
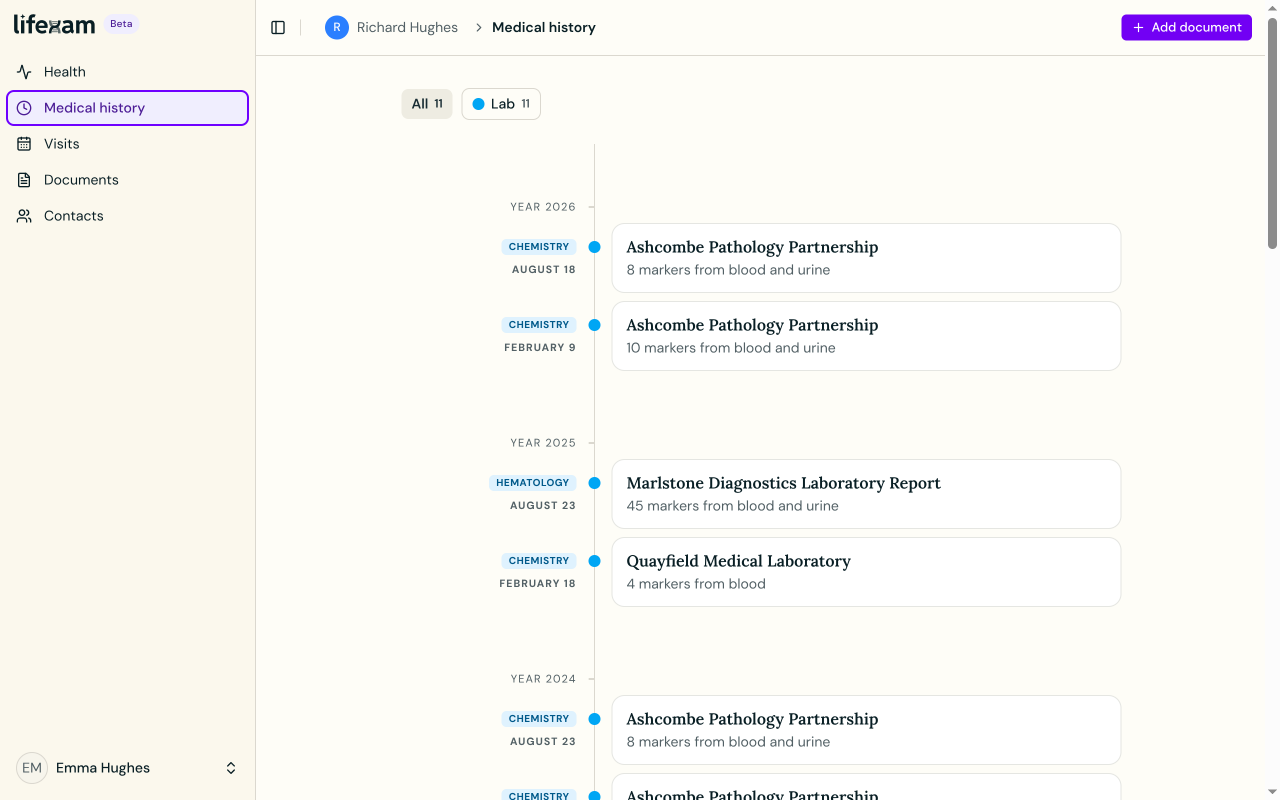
You may remember roughly when you had a test without remembering the filename. Medical history arranges reports by their clinical dates, so you can look through the record by year and open the report you're looking for.
That date can differ from the day you uploaded the document. Adding an older report today doesn't make it a new clinical event.
Keep the original within reach
For a lab report, Lifexam extracts markers with their values, units and reference ranges. You can read those results in the app and see earlier measurements where they are available.
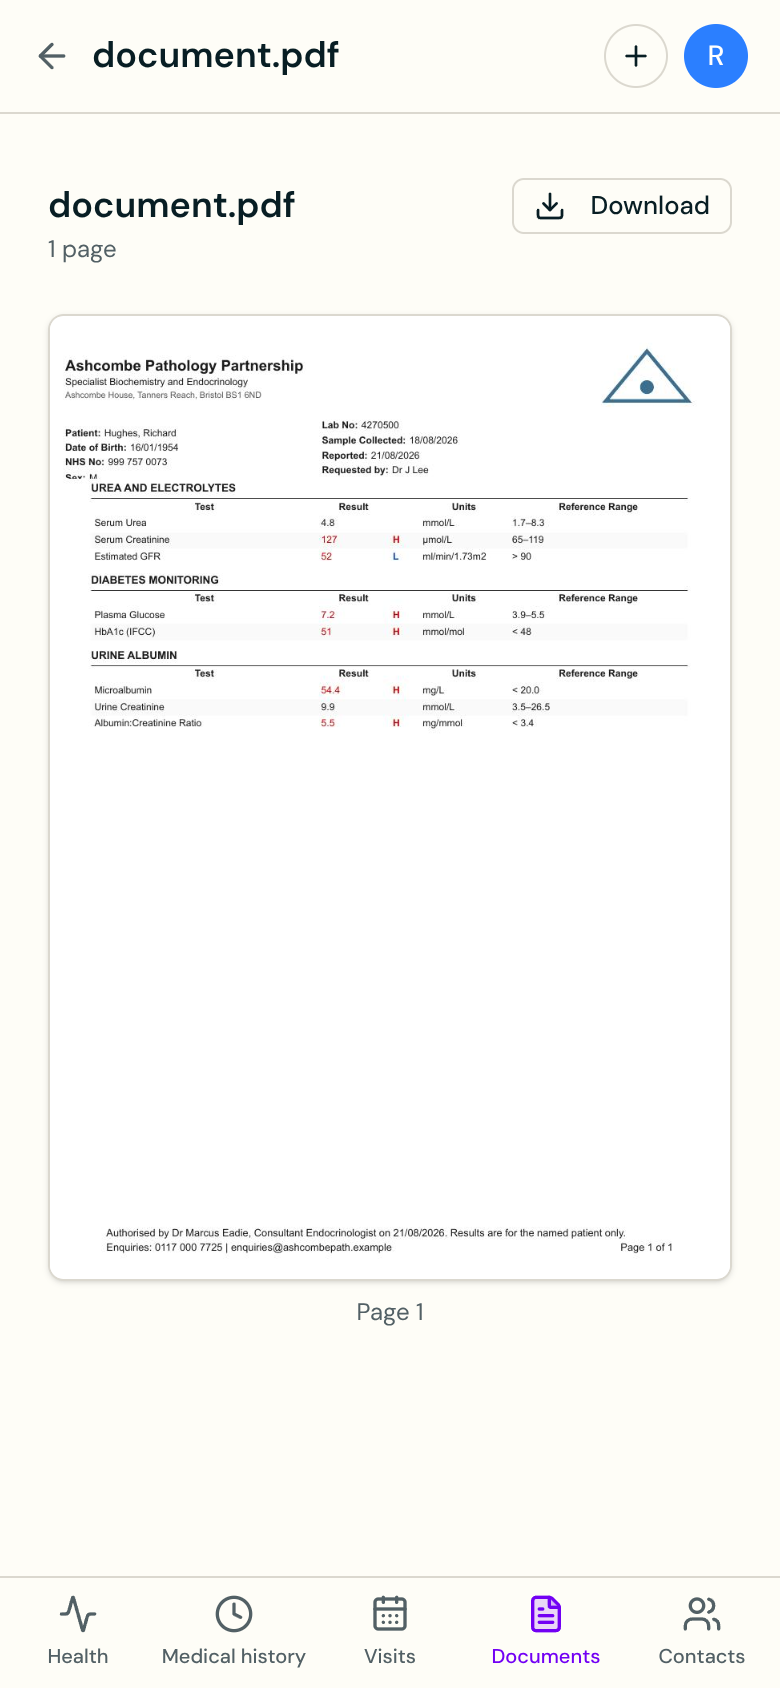
The original stays available too. Open a report and choose View original to check what the lab printed. This is useful when a number needs checking, a note needs its surrounding text, or you want to read the whole page.
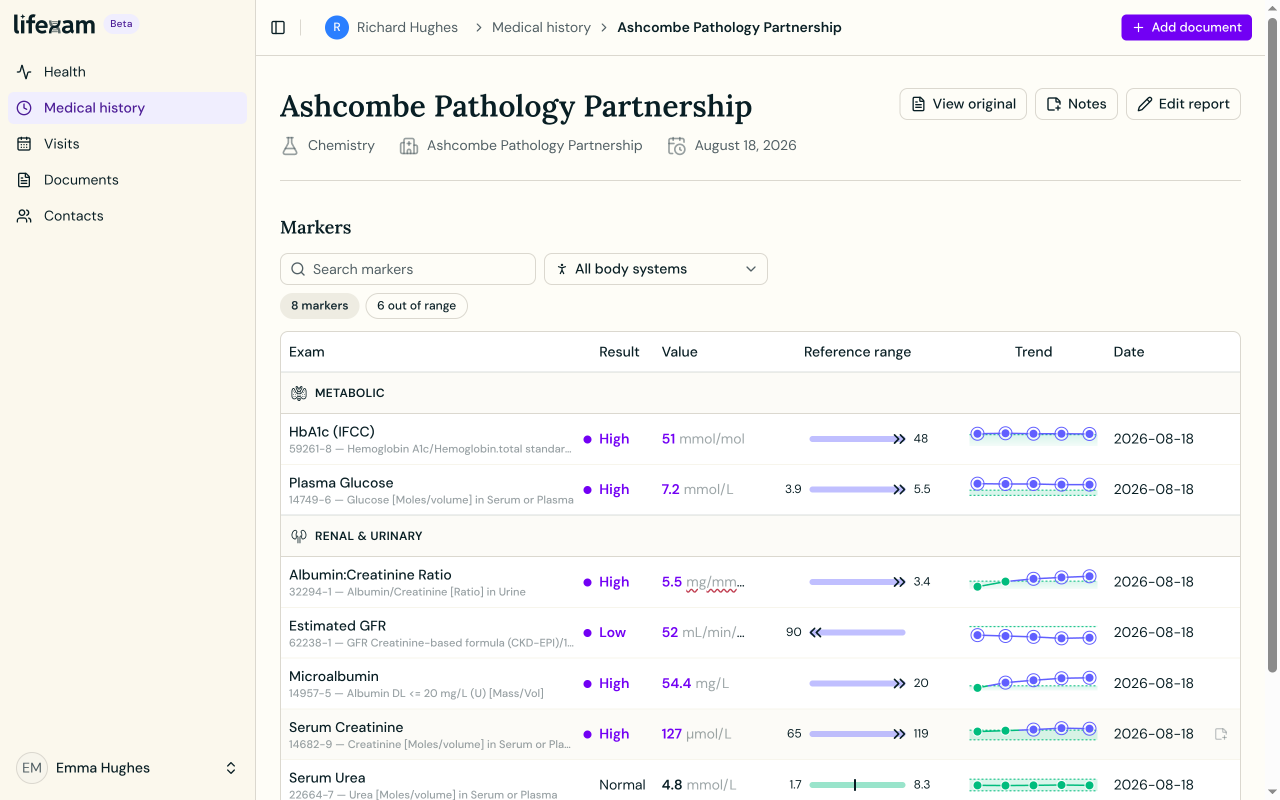
AI extraction can make mistakes. If something looks wrong, compare it with the original before relying on it.
Build your record a little at a time
You can begin with one recent report. Add earlier documents when you need their context or have time to find them. Uploading copies doesn't replace the records held by your hospital, lab or doctor, and it doesn't connect Lifexam to their portals automatically.
These features are available on Free. The ordinary Free plan includes one Profile and five Document slots. Plus includes 100 Document slots and ten Profiles, with the Document capacity shared across the account. See the current plans for the details.
For how the vault handles your information, read the Vault guide.
To begin, open Documents and choose Add document. Use a report you can also open yourself, so you can check the extracted information against it.